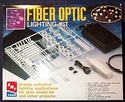
So now I got my holes drilled, and I gotta tell ya, it was a pain in the tuckass, but it's done. Not many know why or what fiber optics are and what they do, so here's the skinny on it. Fiber Optics consist of glass or plastic wires that transmit light almost 100%. They come in a variety of sizes and some even in color. They have basic "end glow" and "side glow" fibers (I'll get into those later). But what it basically means is this... if you take a light and shine it at one end of a fiber, no matter what the length of that fiber, the light will come out the other end same intensity that it went in... like this...
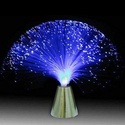
So basically a fiber optic is an electrical wire for LIGHT! Pretty cool right? They use them everywhere, but you've probably seen them in those toys and lamps.
The reason its used in modeling is that you can control where your light is going much more precisely. Without fibers none of this would be possible. You'd have to put a light bulb or LED everywhere you wanted a little light, with fibers, you could put a whole bunch of fibers in a model and only need 1 light source to power them all. Pretty cool right? Well... here's how you do it.
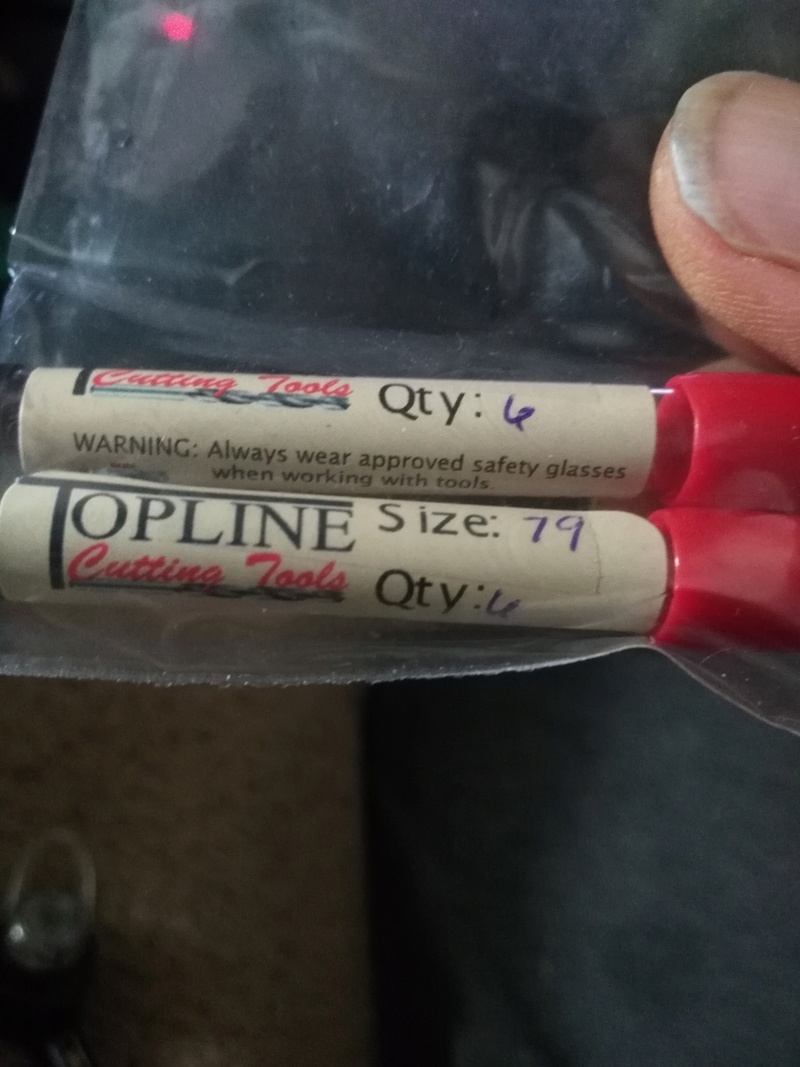
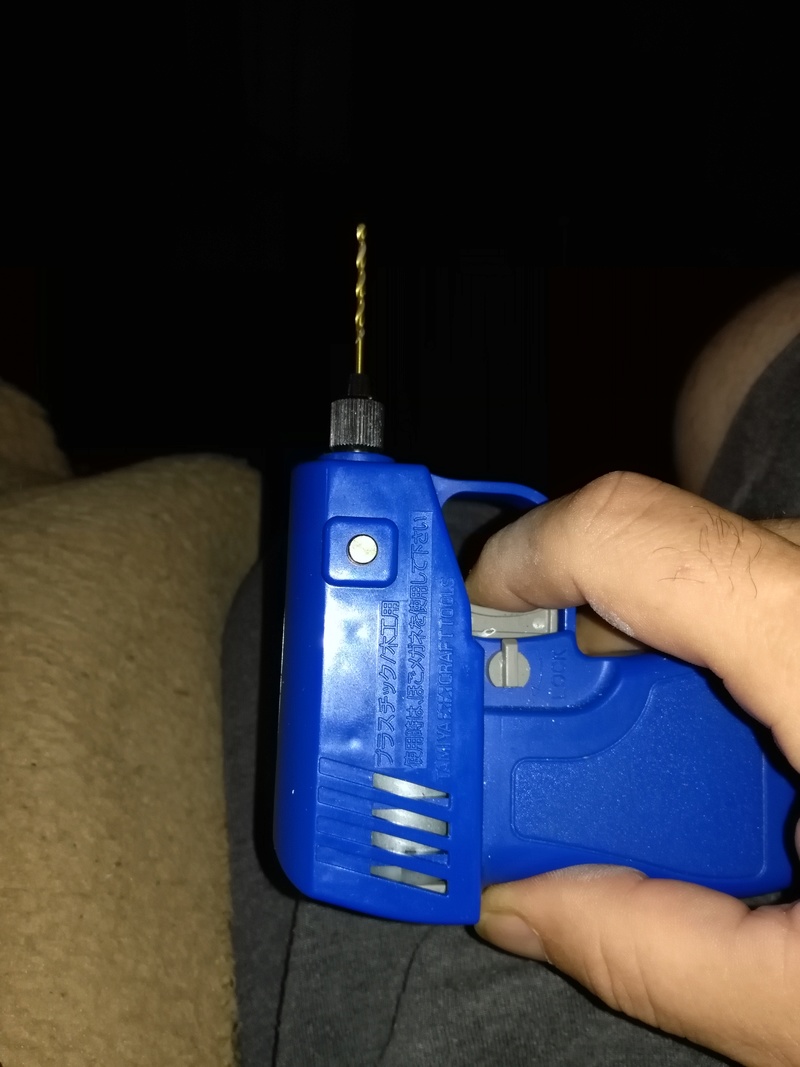
First you drill your holes... you wanna use a drill bit the same size or slightly bigger then the diameter of the fiber you want to use. Now what I'm using here is a
#79 drill bit... its makes extremely tiny holes (as you could see from my last post!).
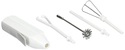
Let's prep our fiber...
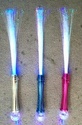
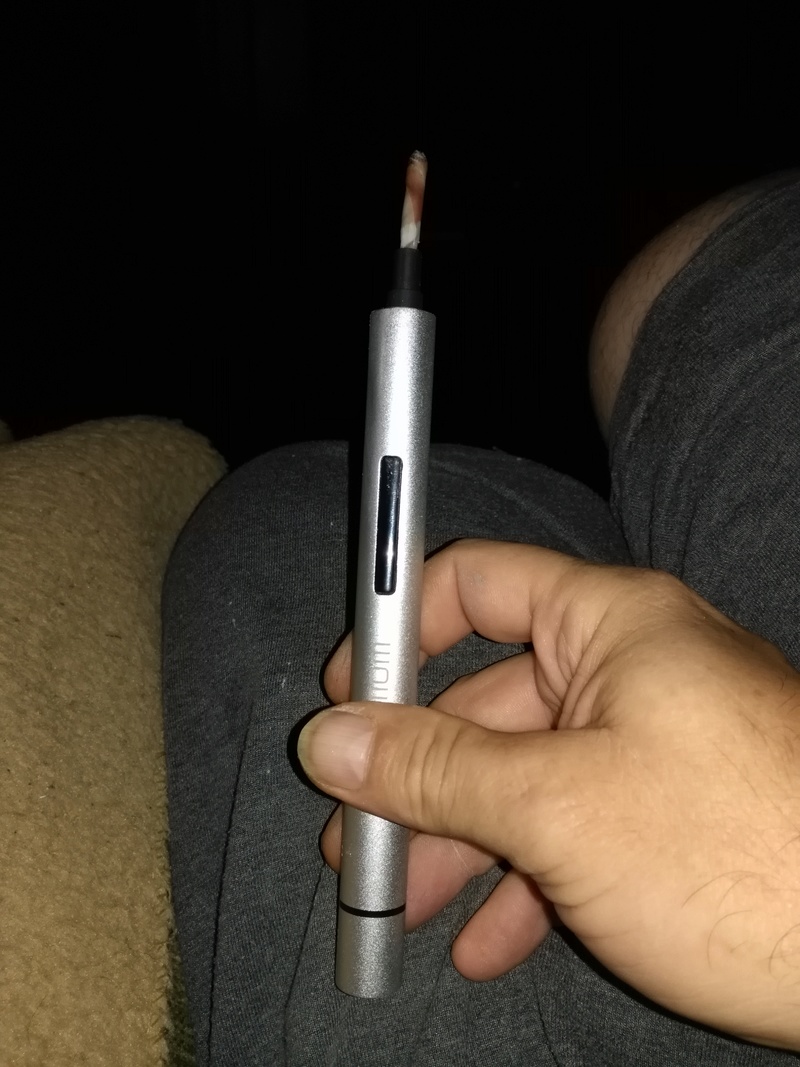
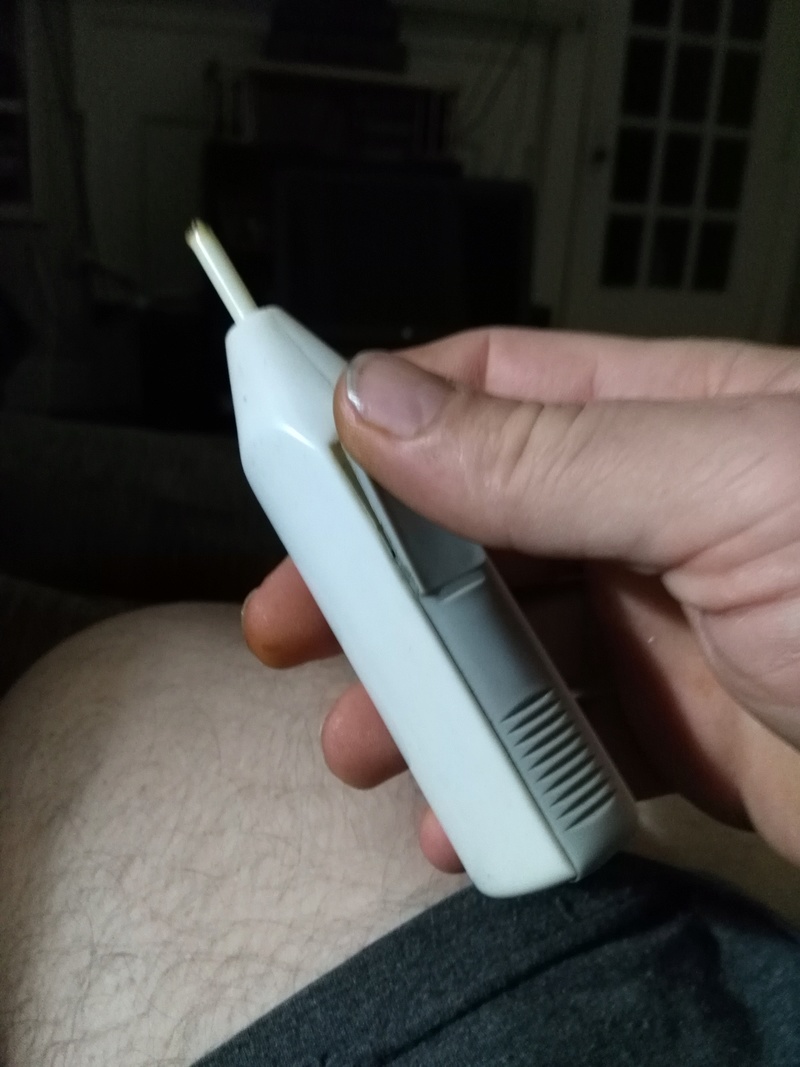
I'm using 64 strand fiber cable. Basically what that is is a bundle of .25mm fiber strands all bundled together in a single cable (kinda like a multistrand wire) and surrounded by a dark plastic sheath coating. With this cable I have to strip the plastic sheath coating off the cable to get to the fibers, it's a pain, but its worth it! Now one you have a single fiber, you hold the end of it near a heat source... I don't like to use open flame, so I use a cigarette. I move the end near the heat of the cig but don't actually touch it. What happens is the end will melt slightly and form a mushroom type head on the end.
This is very important. It's tedious but it has to be done with every fiber I'm using. Some model builders skip this step and just glue the fiber in the hole with a little bit of it hanging out. Then they paint and snip that little end off close to the surface so that it looks like a window. Personally I prefer mushrooming because it makes things so much easier as you progress.
Now you take the fiber and thread it thru the hole with the mushroom facing outside the model and pull it thru and glue it in place (you can save the gluing for after you get a section done). Don't just use any old glue you find. Superglue isn't good with fibers. It's considered a "hot" cure and will eat the fiber itself, and then you'll lose the whole effect you were going for to begin with. Some epoxy glues work but again they are considered "hot" glues and will melt the fibers. The best glue I've found to use is regular old Elmer's White Glue... that same glue that you used to eat in kindergarten when you were a kid (yes you did, admit it! We all did!). It doesn't stick super strong to the plastic of the kit, but it will hold the fibers in place securely and won't damage them at all. One great thing about it too is that if you make a mistake you can always soak it in water and it'll come undone without doing any damage to the model or the fibers and you can start over again!

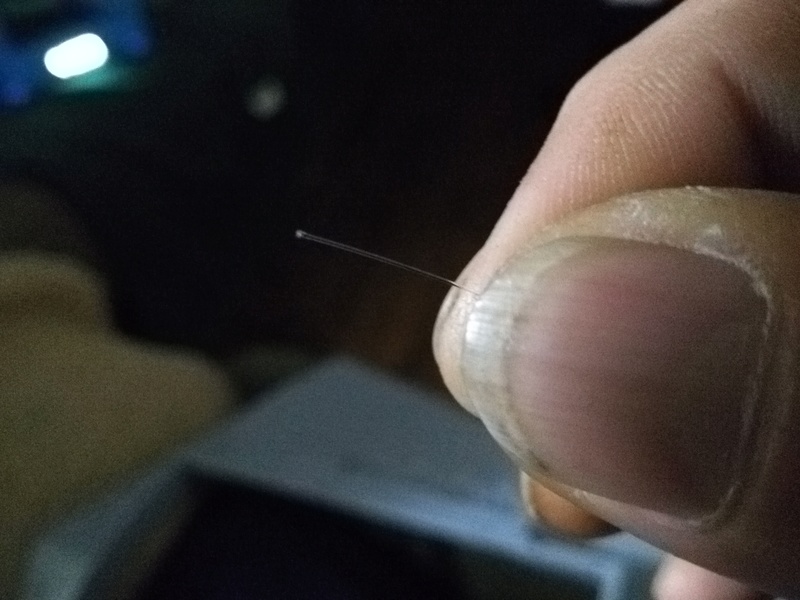
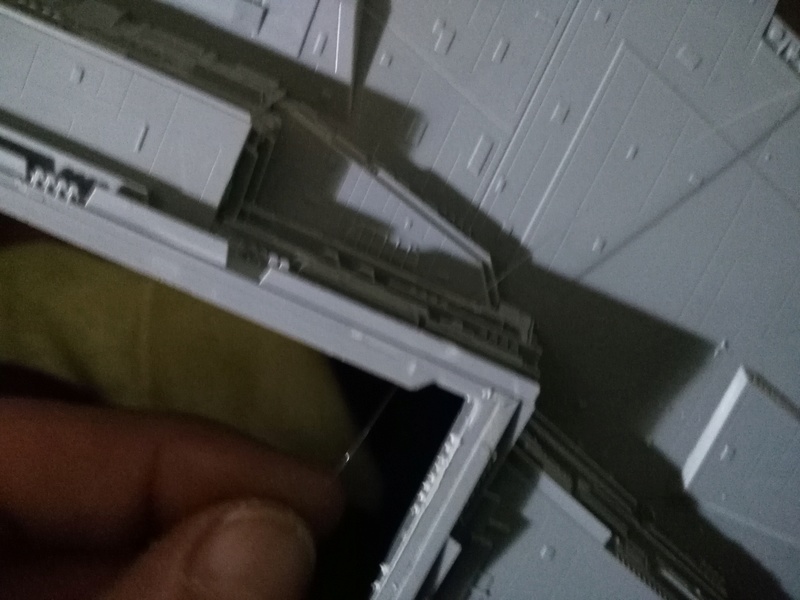
So now that we got the fiber pulled all the way thru, here's what it looks like. These fibers are so small that they are barely visible but, if you take a light and shine it on the other end of the fiber (I'm using a flashlight here), you'll see what happens!
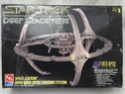
And it's just that easy... no fuss, no muss, and the effect is stunning! This is exactly what they did in the movies for so many models and is exactly what this kit needs to make it shine like the star she is! Hope this helps anyone who is thinking about doing something like this for themselves. Lemme know what you think and I'll sit here and work some more on this baby!


 Topic: