How to repair your X-Wing - Walkthrough - Pic heavy
Author
Message
budspencer Grand Moff
Posts : 759 Join date : 2011-08-15
Subject: How to repair your X-Wing - Walkthrough - Pic heavy Sat Oct 22, 2011 2:17 pm
Picture heavy thread! let it load!
This is a guide on how to disassemble your vintage x-wing in order to repair it. Please feel free to redistribute or back up or post on your own site but please credit the original author Budspencer please.
Time to do this: 10 minutes to disassemble the toy after you have done it a couple of times.
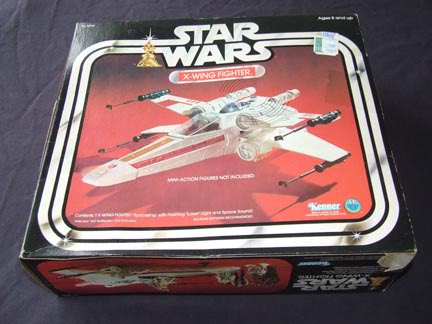
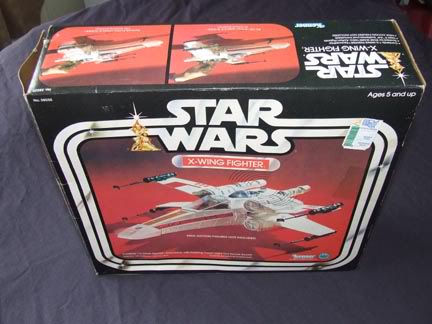
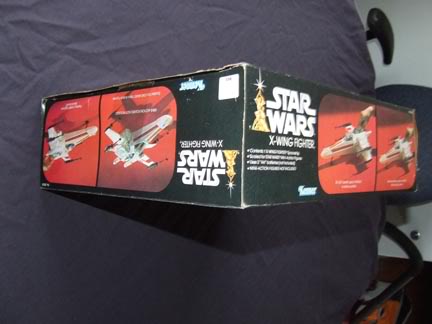
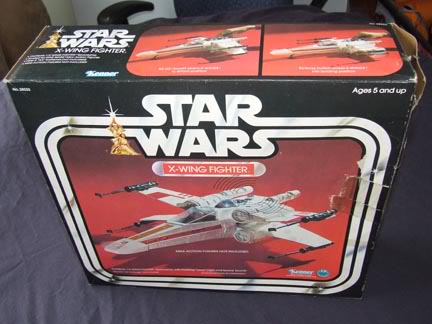
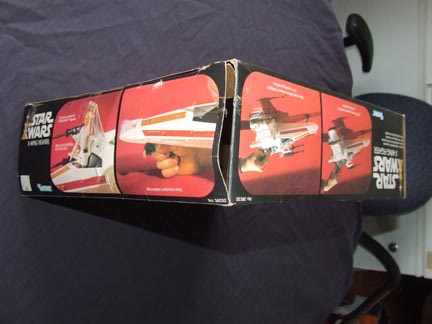
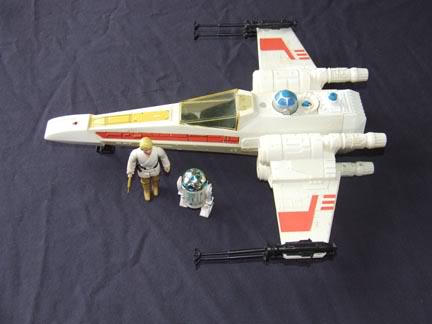
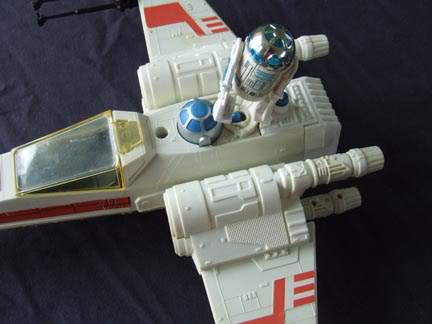
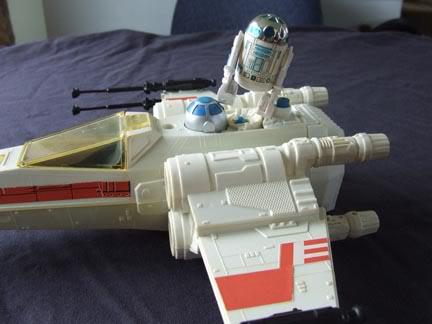
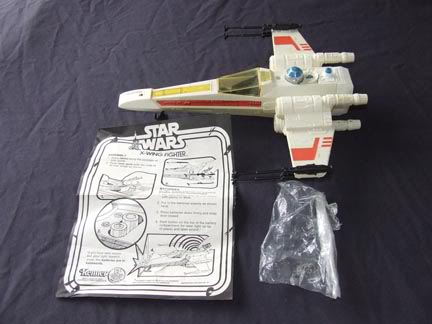
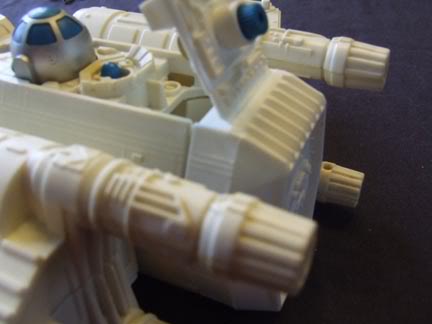
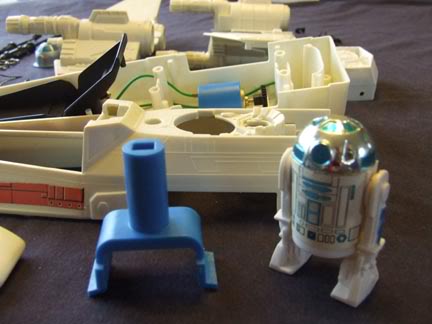
Here is the box with Luke and Artoo, a few pics....
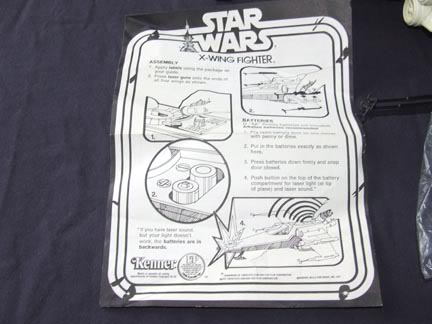
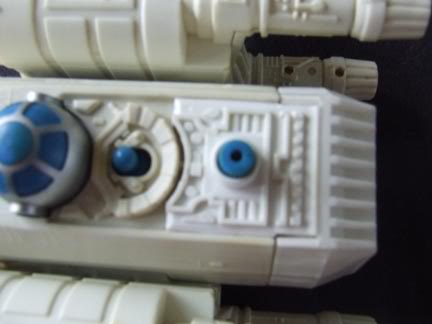
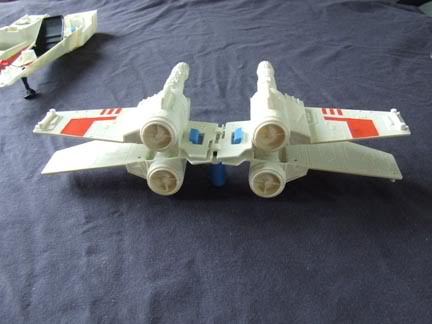
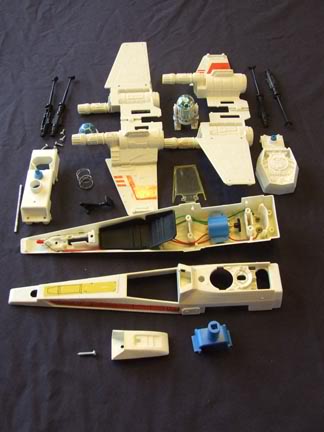
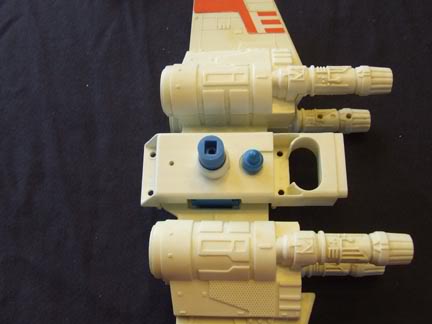
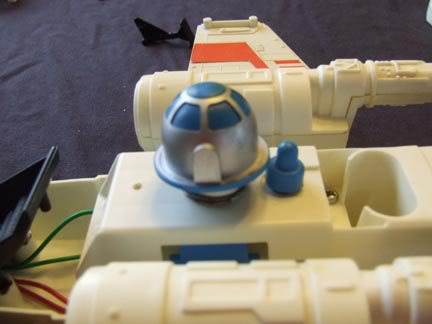
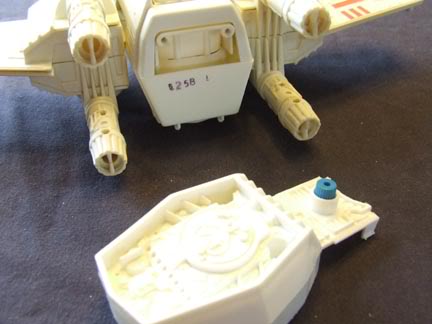
Take that you impostor R2 head!!! and that and another one for good measure! x-wing with all parts before breaking apart document starting to remove the parts i don’t need. top battery section top battery section opened
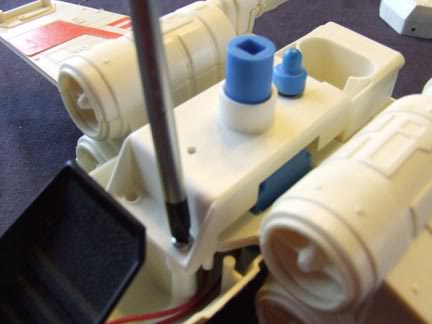
removed screws in the back with Philips screwdriver left remove left screw
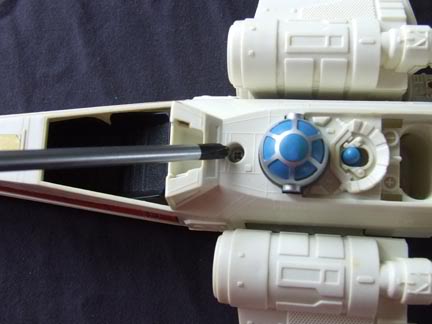
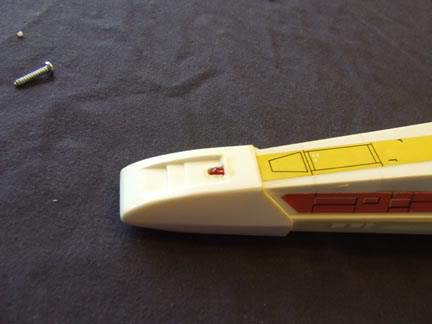
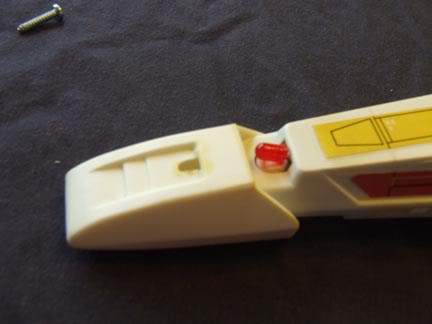
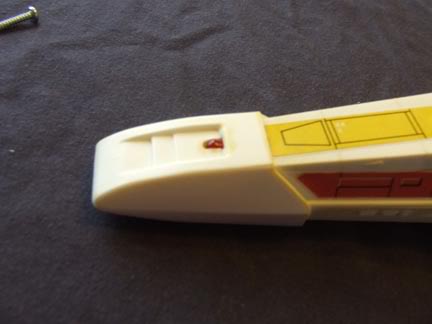
screws removed now start to gently force back the top portion of this part the top portion should come off put it aside and make sure you keep track of those screws! how go on the top of the x wing and removed the screw close of the head of R2 screw removed now flip you x wing over and go to the landing gear section remove the screw under the landing gear
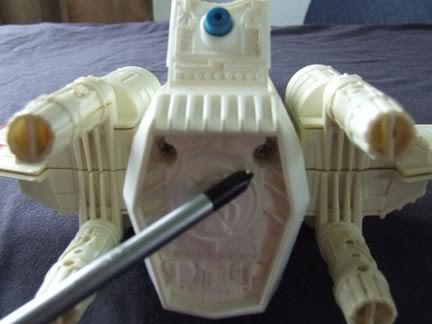
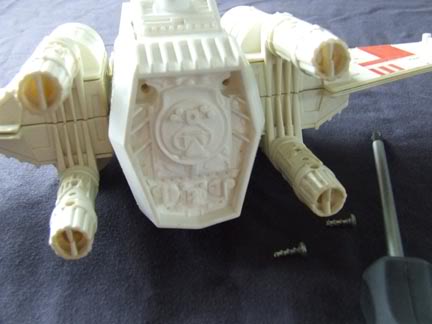
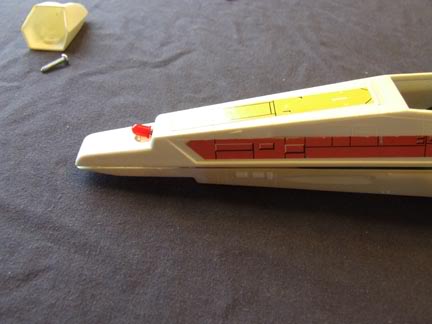
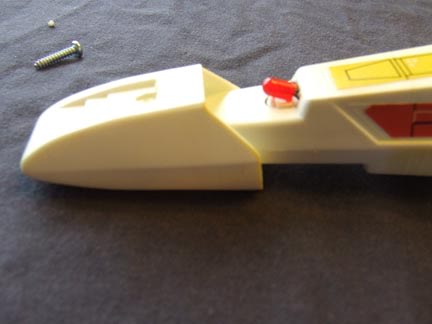
remove the screw on the nose cone of your x wing with screw removed, this screw is the longest one on the ship and will only fit there!
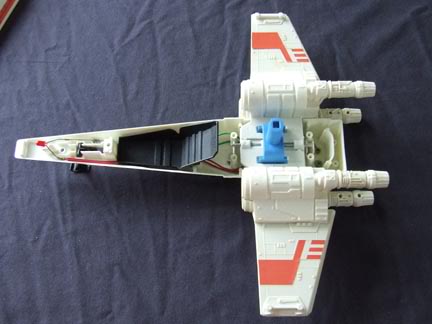
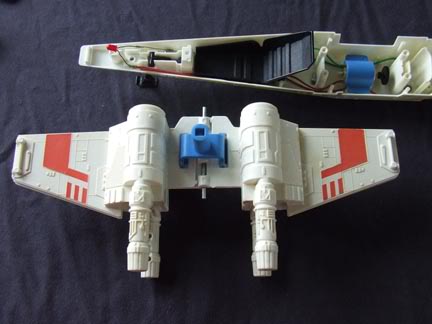
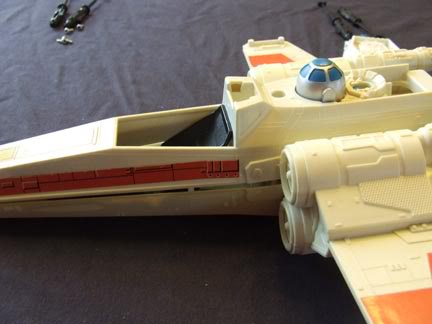
flip your x wing again and start to gently remove the top portion of the fuselage
you are left with the bottom part of your x wing now!
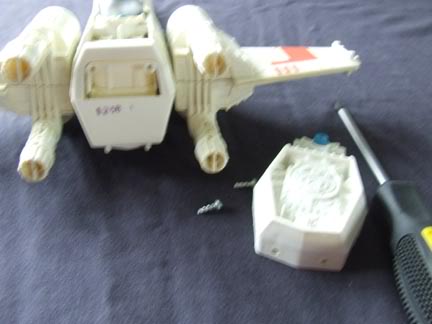
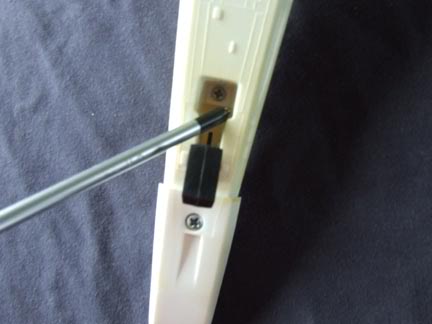
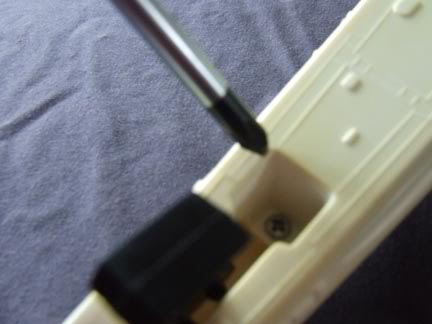
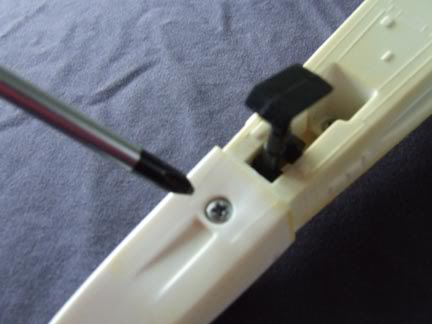
with that done go to the back of the x wing again and remove the screws which i am showing with the screwdriver. mine seemed to be missing one screw there so your may have 2 screws to be removed. remove the screws in the front part of that part as well as shown by the screwdriver.
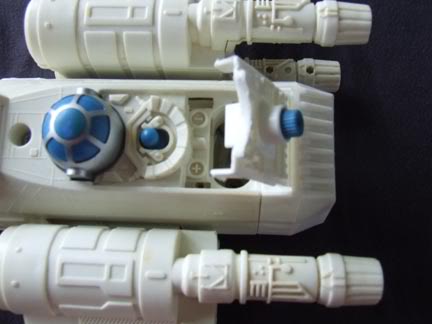
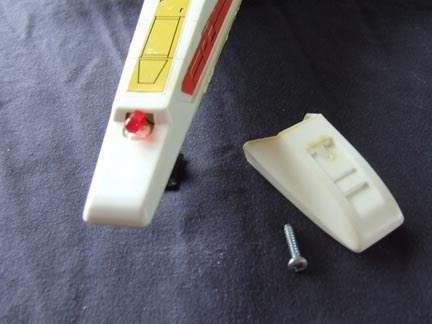
now you can remove that part here is what the part looks like
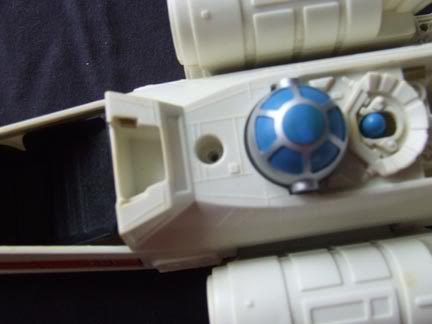
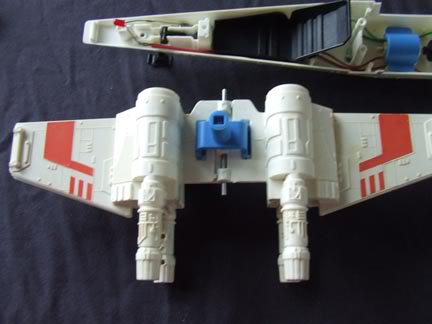
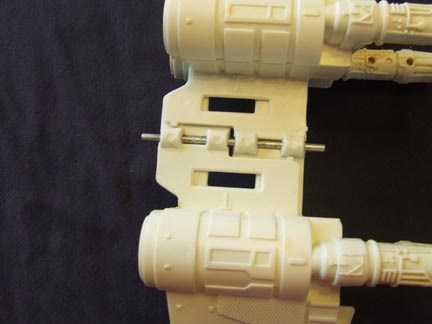
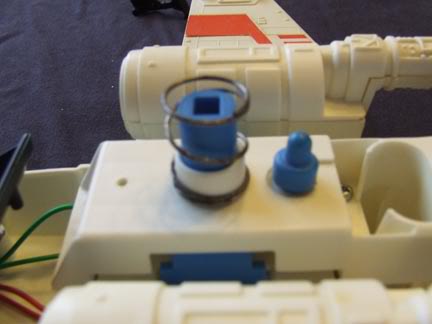
remove the r2 unit head to reveal the mechanism spring you can remove the spring now now you are left with the removal of the wing portion of the x-wing view of the mechanism before removal now you can easily lift the wings portion out of the fuselage of your ship photos of the wing section
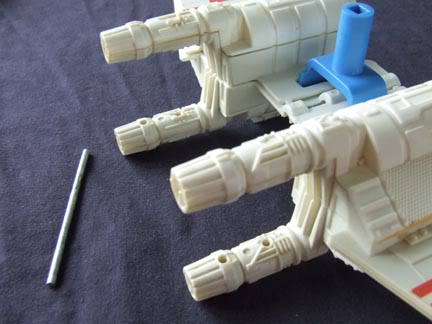
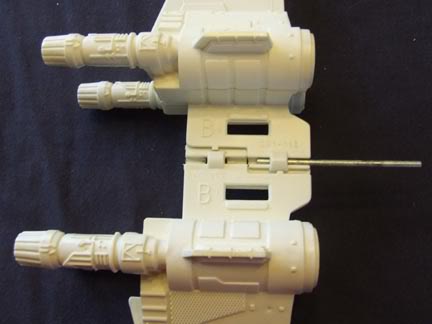
you can see the pivot rod remove the pivot rod you are left with this
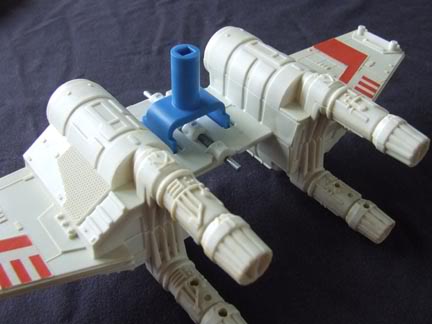
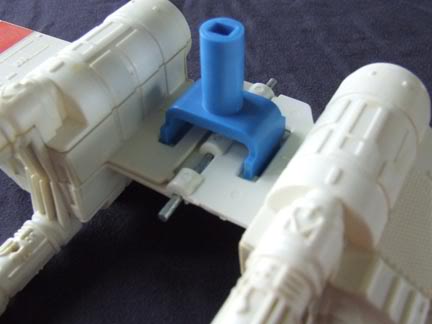
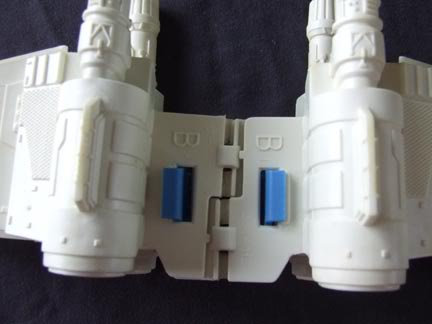
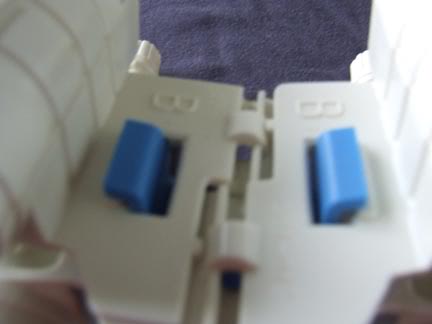
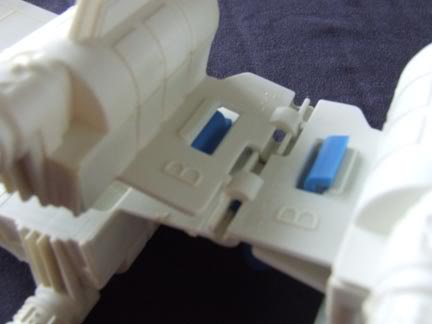
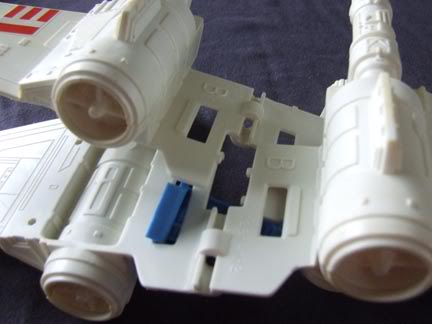
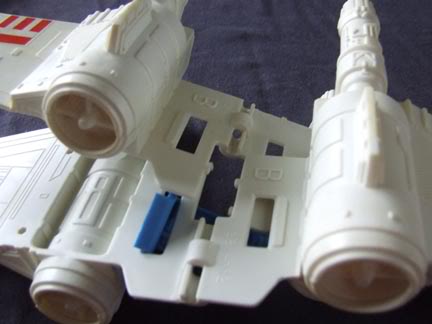
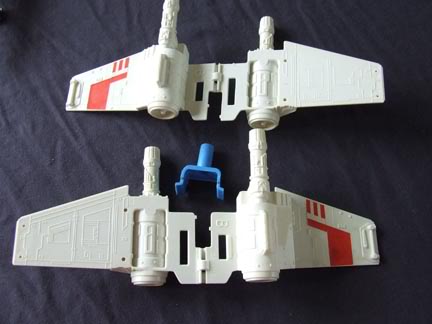
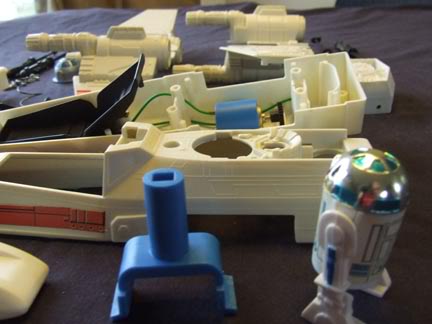
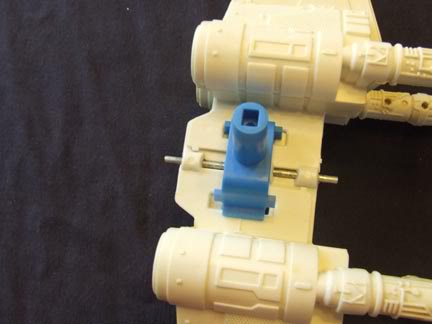
now we have to remove that blue plastic part of the x-wing mechanism
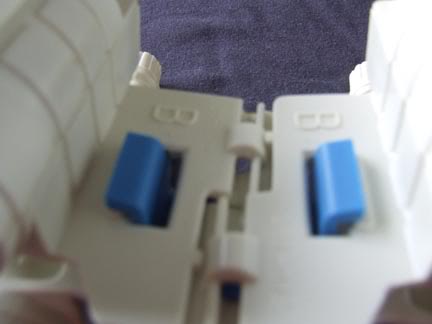
you need to squeeze the part so that it goes in the slot
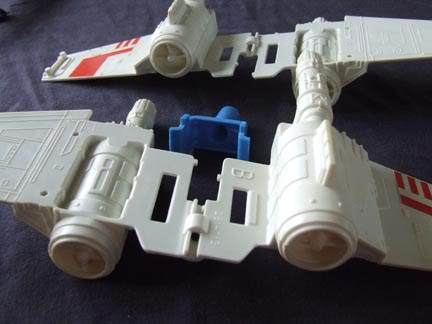
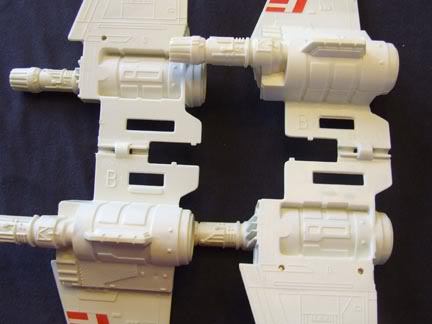
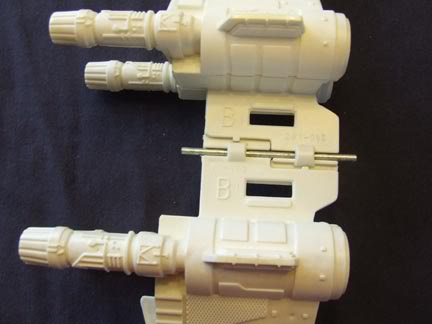
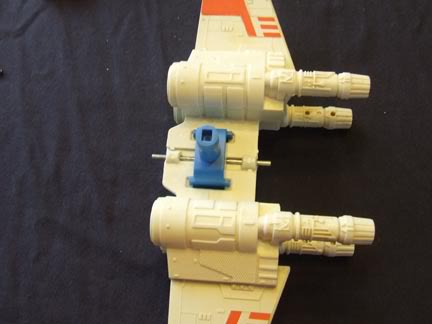
you do the same for the other side now you can start separating the wings if you ever needed to do that for whatever reasons.
after that you can easily remove the blue plastic part here are the wings separated make sure that you remark that the wings have to be assemble in a very specific way when you re-assemble the wings, to help you out make sure that you see both B markings on the wings and make sure they are on the same side, that way you will know the wings have been put together properly...more on that later.
landing gear removal
push it down so it ends like this then start rotating the landing gear to this position then you can remove it
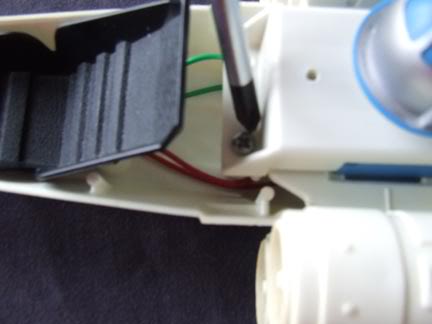
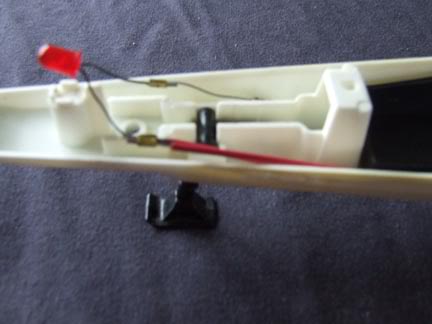
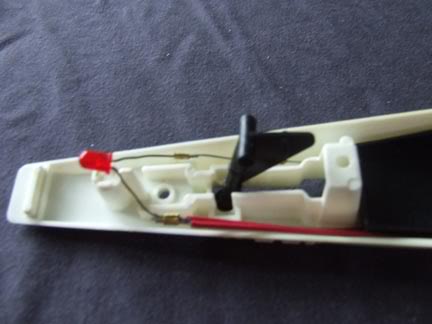
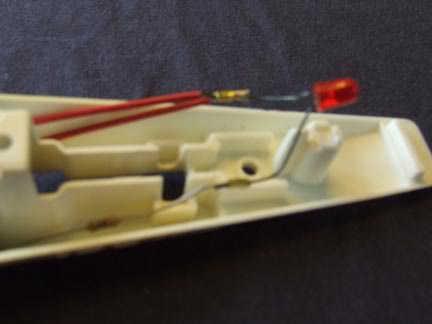
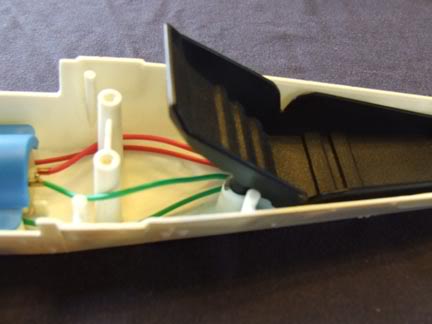
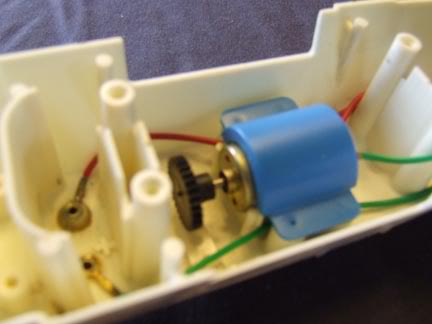
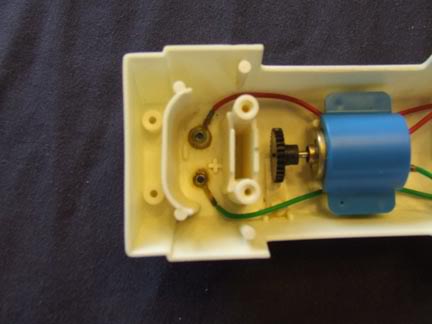
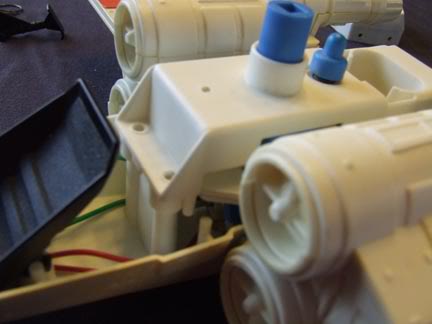
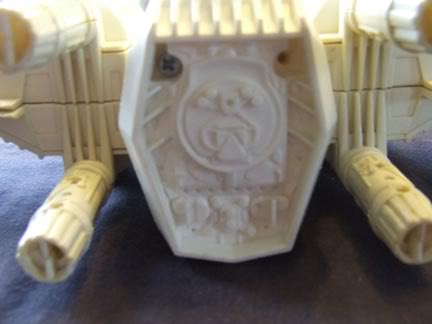
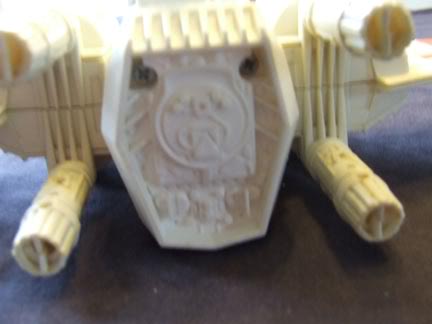
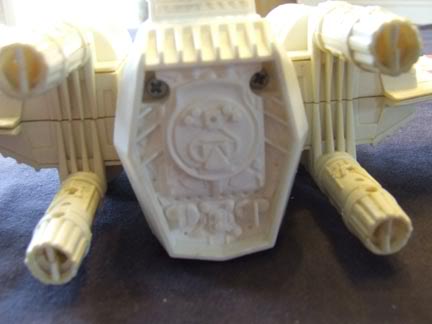
you are left with the bottom of the fuselage now and see the wiring system in the fuselage picture of the motor-battery section the led light in front the seat which cannot be removed the seat is glued in to the fuselage some type of ink stamp on the toy the motor part again
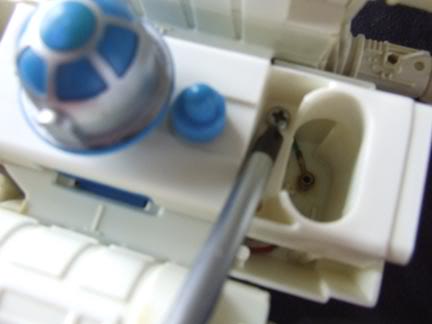
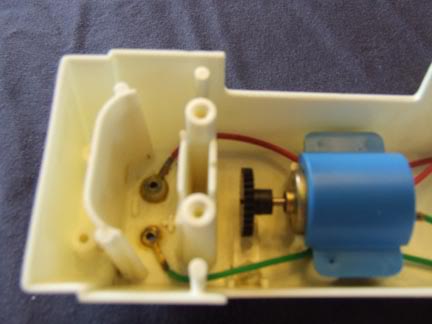
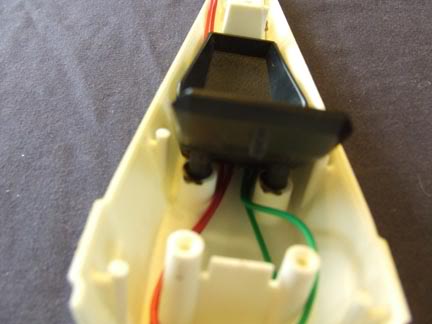
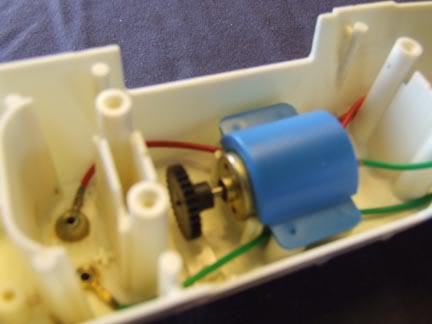
the battery connector section. The 2 little connector are probably corroded, this is the part i had to clean in order to get my toy going again. most likely the previous owner left some batteries in the toy and they leaked and corroded the connectors, you have to scrape the corrosion off and find a way to sand it so that the connectors are nice and shiny again. there are other methods to clean corrosion on battery connectors you can do a search on the internet for this...i choose to do it that way so to avoid damaging the plastic of the fuselage with some solvent chemical that would have removed the corrosion but damaged the plastic of my toy. The motor part. For the motor you can try to jumpstart it by putting batteries in and turning the motor by hand after a while of trying this the motor may start and turn on its own when you push the blue button on top of the fuselage. it took mine several minutes of spinning the black wheel by hand then it start to turn on its own. Time just make the little motor seize so you have to jumpstart it if it is not rusted or not damaged.
under the fuselage
the toy is now disassembled. There is an unknown part in this photo!
what the hell happened to my x wing!!!
you are in so much trouble now!!!
after you are done repairs it is time to reassemble your x-wing you start with the wings remember you need to see both B on the same side of the wings, then you know you are re assembling correctly!
put in the pivot pin
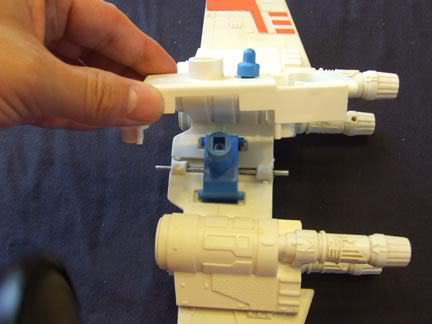
Flip the wings over and put in the blue plastic part and make sure you do so on the right side. You can see 2 "T"s on the picture which probably means T for top to make it easier to recognize how to assemble the parts on the assembly lines back then.
slide the top portion of the x-wing over the blue plastic part then put in the top part as shown then sit it on top of the fuselage making sure it fits where it should, pretty easy to do the put in the screws
put in the spring then the R2 head it only fits a certain way it should look like this then put in the landing gear the same way it came out
then you can put the top of the fuselage
put in the screw in front of R2’s head then put in the nose cone
flip you x-wing and put in the long screw then the screw under the landing gear, make sure it does not fall in into the fuselage! then put the back part of the x wing put in the screws
and you’re done!
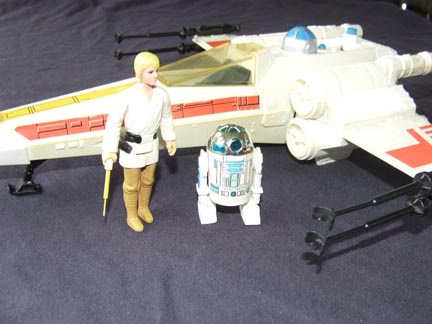
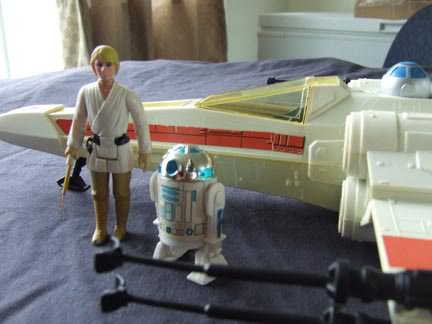
Luke and R2 can carry on their adventures !
Last edited by budspencer on Mon Dec 26, 2011 2:59 pm; edited 1 time in total
pomse2001 Sith Apprentice
Posts : 1046 Join date : 2011-03-09 Age : 45 Location : Denmark
Subject: Re: How to repair your X-Wing - Walkthrough - Pic heavy Tue Oct 25, 2011 12:56 pm
Thanks mate, I will try to reapir the ones I have
pomse2001 Sith Apprentice
Posts : 1046 Join date : 2011-03-09 Age : 45 Location : Denmark
Subject: Re: How to repair your X-Wing - Walkthrough - Pic heavy Mon Dec 26, 2011 11:40 am
Hi again mate, I have tried to repair 2 X-Wing Fighters. The first one works perfect now. But the second one the light is only working not the engine.
I have tried to jumpstart it, but nothing happens
budspencer Grand Moff
Posts : 759 Join date : 2011-08-15
Subject: Re: How to repair your X-Wing - Walkthrough - Pic heavy Mon Dec 26, 2011 2:52 pm
pomse2001 wrote:
Hi again mate, I have tried to repair 2 X-Wing Fighters. The first one works perfect now. But the second one the light is only working not the engine.
I have tried to jumpstart it, but nothing happens
Try to turn the wheel some more, If the light lights up then the current is there and the way the circuit is made i believe it passes thru the motor, your motor is just jammed from age. on my x-wing i was in the same boat. it took me almost half an hour to an hour to just get it barely started then it went. I am not sure if you could put a drop of sewing machine oil in the motor to try to help it get loose... maybe others can clarify this...
aussiejames Admin
Posts : 7732 Join date : 2009-11-12 Age : 50 Location : Western Australia
Subject: Re: How to repair your X-Wing - Walkthrough - Pic heavy Tue Dec 27, 2011 2:04 am
Sewing machine oil or CRC (WD40) is fine for the motors. On the tie fighters if the batteries are in backwards the light works with no sound ( & backwards is opposite to the embossed picture- if the sticker is missing )
pomse2001 Sith Apprentice
Posts : 1046 Join date : 2011-03-09 Age : 45 Location : Denmark
Subject: Re: How to repair your X-Wing - Walkthrough - Pic heavy Tue Dec 27, 2011 11:12 am
Thanks guys I will give it a try again. If I get it to work, will there then go years again before I need jumpstart it again ?
Or only months ?
budspencer Grand Moff
Posts : 759 Join date : 2011-08-15
Subject: Re: How to repair your X-Wing - Walkthrough - Pic heavy Thu Oct 25, 2012 10:57 pm
Share on your blog or site if you want.
obijohn Imperial Recruit
Posts : 17 Join date : 2013-11-30 Location : Pennsylvania,USA
Subject: Re: How to repair your X-Wing - Walkthrough - Pic heavy Sun Dec 22, 2013 2:44 am
Has anyone taken the blue plastic piece that covers the motor off?
AllachSS New User
Posts : 3 Join date : 2015-03-08
Subject: Thanks for the tip! Sun Mar 08, 2015 9:35 pm
your tutorial worked and now my X wing works. I was so excited I decided to tackle my 3 position laser rifle. It had heavy corrosion that I managed to clean out. ANd still doesn't work. I tried to disassemble it and removed all the screws and still can't. Anybody have any idea how to split the 2 halves after removing all the screws? I just made a new post in TIG Content Reference Librabry.
darthmatt22 Developer
Posts : 1769 Join date : 2015-09-29 Age : 34 Location : New Jersey, USA
Subject: Re: How to repair your X-Wing - Walkthrough - Pic heavy Fri Oct 02, 2015 12:31 am
This'll really come in handy when I grab one along the way of my first run.
Has anyone done a millennium falcon post yet?
Sponsored content
Subject: Re: How to repair your X-Wing - Walkthrough - Pic heavy
How to repair your X-Wing - Walkthrough - Pic heavy